
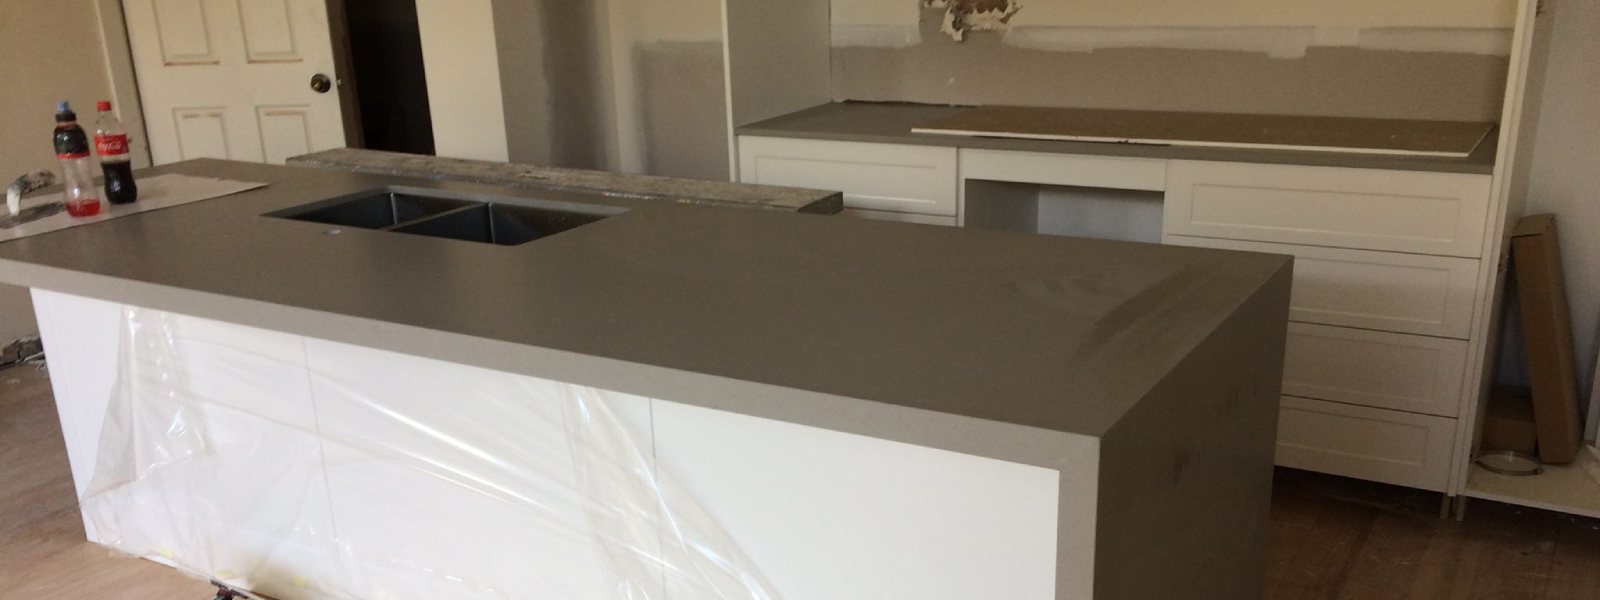
Stone benchtop installation is easier said than done. You must follow a thorough process to ensure a successful integration and guarantee the functionality of your surfaces.
So, if you are curious on how do you attach a stone benchtop, check out this guide now.
Select a Stone
You can use different types of materials for your benchtops, from natural and engineered stones to ceramic and sintered stones. Select the material that suits your needs and enhances your aesthetics.
Take Precise Measurements
Measure your kitchen and make a precise pattern to fit your new countertop perfectly. This will prevent gaps, overhangs, or alignment issues with your cabinets and walls.
Prepare the Materials
Lay out the materials and equipment, from the stone slabs to the tools, before starting the project. Organising all materials beforehand avoids project delays.
Use the Right Tools
Start the actual stone benchtop installation using specialised tools, from safety gear to cutting equipment. Each tool allows you to achieve seamless seams and levelled surfaces.
Make Finishing Touches
Sealing a porous natural stone benchtop is vital for protection against stains and moisture. This sealant needs 24-48 hours to fully dry and cure. Avoid placing items or liquids on the benchtop during this time to ensure proper bonding and maximise longevity.
Collaborate with the Pros
If you want to skip the stress of installing the benchtop yourself, you can rely on the pros. They have the skills and knowledge to affix your stone slabs seamlessly.
Partner with Us for a Hassle-Free Benchtop Installation
Install brand-new stone benchtops with the help of the experts from Stone Interiors. We are committed to delivering a high-quality finish. For more enquiries about our stone collection and services, give us a call by dialling 0422 448 494 or 03 9357 0096 today!